I was walking down the streets of Manhattan when my I spotted it. A cobalt-blue KitchenAid stand mixer, sitting abandoned and alone on the sidewalk. I knew that it was not likely to be in working order, but I also know that many people throw away broken technology that can easily be revived with a quick repair job in the right set of hands. I picked it up and carried it over a mile back to my apartment. Let the games begin!
I was not surprised to find that, despite being in otherwise great condition, the mixer was not fully working. Luckily, when I plugged it in and turned it on, I was greeted by the sound of a happy and healthy electric motor, however there was no movement out of the mixer itself. I fetched my tools, and prepared my operating room before diving into the insides of this hefty machine.
Opening the mixer was a bit of a trial, requiring a set of security screwdriver bits, but I was not going to be deterred so easily. For $11 on Amazon, I had the requisite bits shipped to my doorstep in two short days. I pressed onward, opening the contraption’s heavy cast-iron shell to reveal its inner workings. I scraped away the heap of food-safe grease which encased the drive train and the problem because obvious fairly quickly: the worm gear which coupled the motor to the mixer’s output had been completely destroyed.
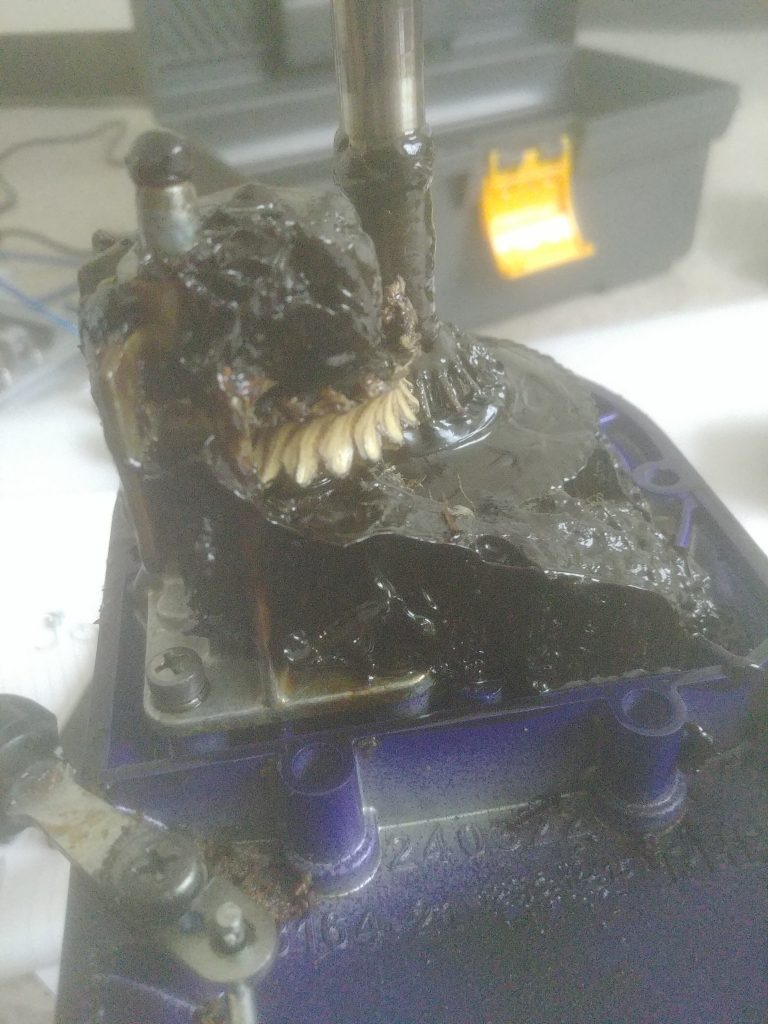
It turns out that this is a common issue that befalls the owners of KitchenAid mixers. In fact, this failure was an outcome of an intentional design decision by the KitchenAid engineers. In the event that the mixer is overloaded, this gear is destroyed, rather than the other metal gears in the drive train or the motor itself. A replacement can easily be purchased online for a mere $8-10, but I had another idea of how I wanted to fix this thing up.
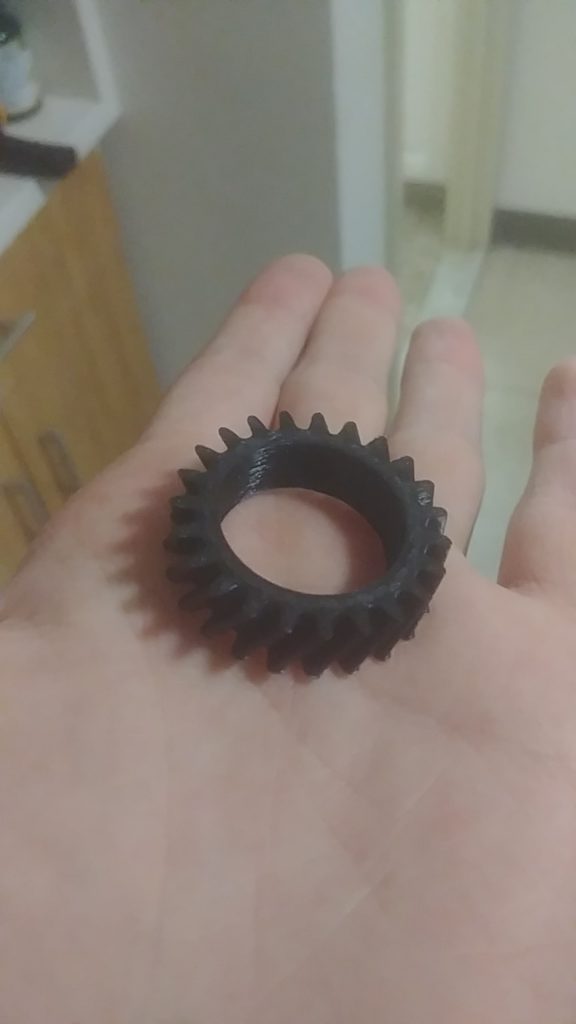
A quick perusal of the internet revealed that I could easily print out a replacement gear, and so I put my Anycubic Kossel Linear Plus 3D printer to work! In less than a half hour, I had a replacement gear made out of PLA. I wanted the new part to be strong, so I went ahead and heated up my toaster oven to 170 C, turned it off, and then popped the newly printed gear in. As the toaster cooled, it heated the gear to its glass-transition temperature, allowing the molecular structure of the plastic to rearrange, thus reducing any stress that had been present in the structure as a result of the 3D printing process (this process is known as annealing, and has been demonstrated to significantly increase 3D printed part strength!).
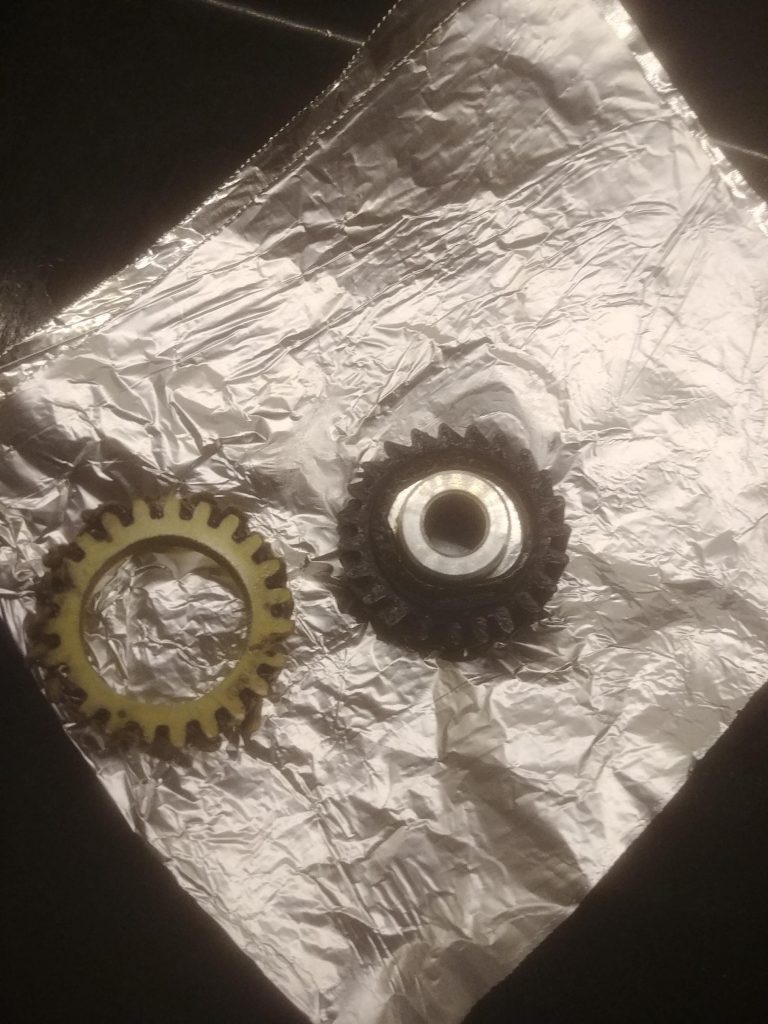
Now came the scary part. I extracted the old gear from its gearbox and used a jeweler’s saw to remove the old plastic gear from its metal core. I then used a blowtorch to heat the metal core to approximately 200 C and carefully pressed the new gear on (using oven mitts to avoid burning my hands). It wasn’t perfect, but afterwards I had a fully functional replacement gear that fit snugly into it’s new home!
I finished reassembling the mixer, and was overjoyed when I turned it on and I saw everything moving as it should. It works perfectly, and so far seems to be more than strong enough to do its job! Next up is trying to build/buy a pasta maker so I can get some more fresh noodles in my life, wish me luck!